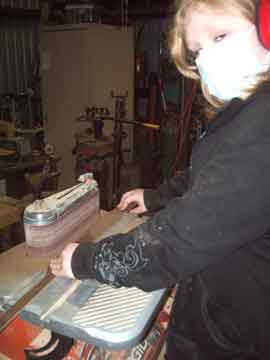
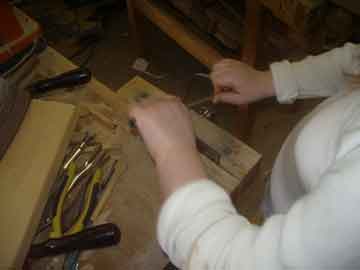
Cutting out the push-stick, we keep hands at both ends of the stock,
nothing on the saw table, lots of clean floor around the saw. Cut
rough, use the sanders, rasps and scrapers to get the final finish -
the saw is not the last tool you use in an operation.
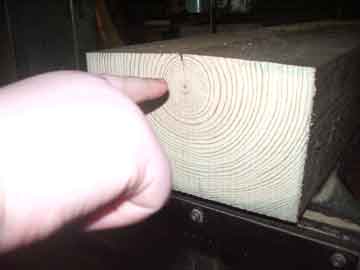
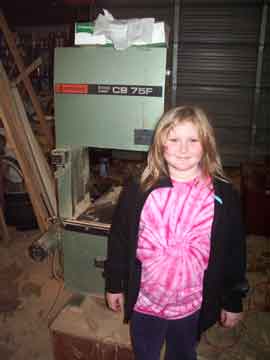
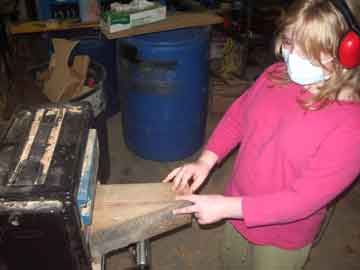
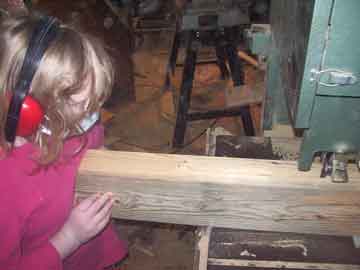
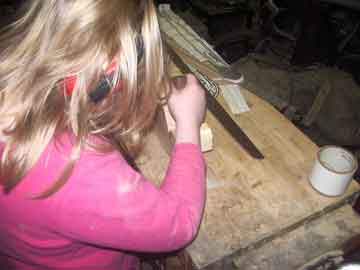
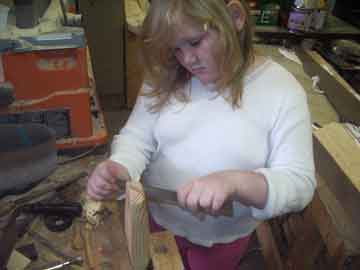
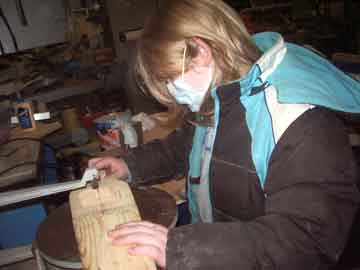
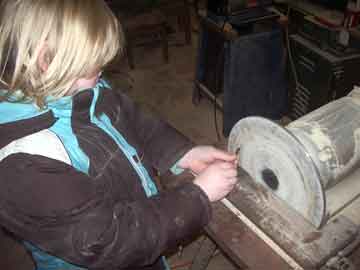
A 4x7 pine timber,
reclaimed from an old trebuchet frame upright I had laying
around. seasoned for a decade, and nearly center-cut. Here
aislinn points out the largest crack in the piece, and we have
determined that we need to plane away the wood down to the tree center
to get rid of the crack and make sure it hasn't spread.
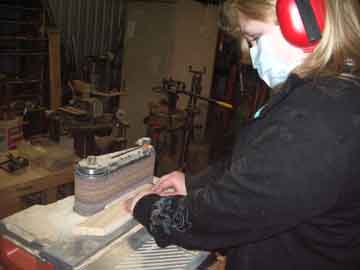
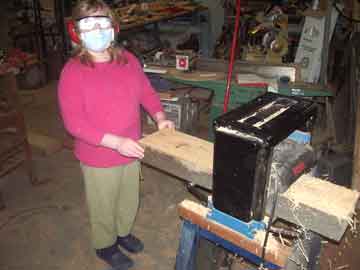
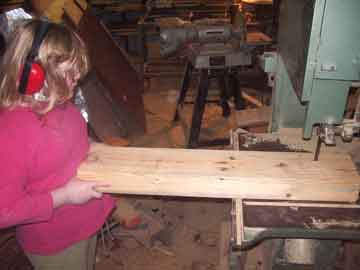
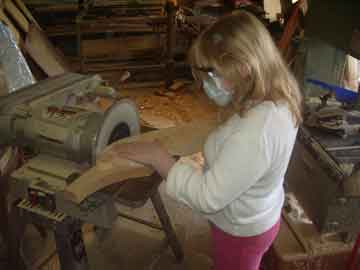
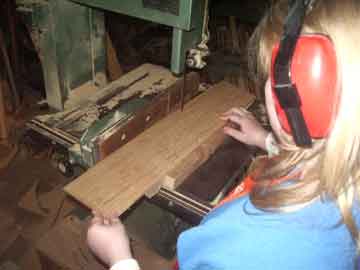
So off to the surface
planer. With a bit of extra cut from the timber, Aislinn sets up
the plane depth.
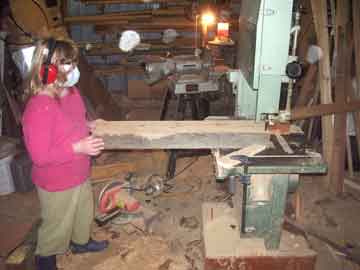
And away we go. The night
was cool, there was a bit of fog on the goggles (nothing dangerous, but
enough to completely white out her eyes in the flash photo. About
25 thin passes and we are down to a crack-free surface.
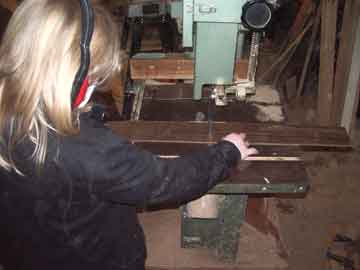
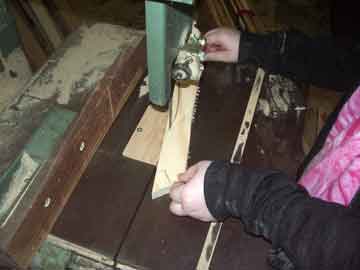
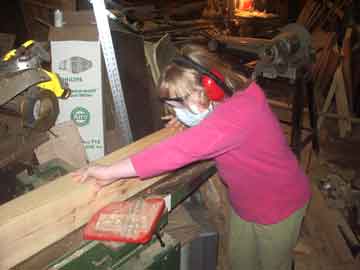
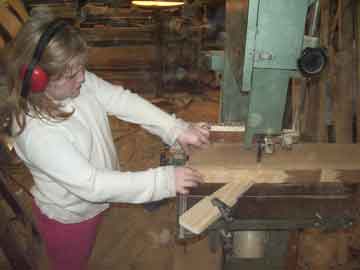
Now to cut the timber to width. Fingerboard in place, resaw blade
in the saw, and cut both sides so the center of the timber falls
roughly along the centerline of the instrument.
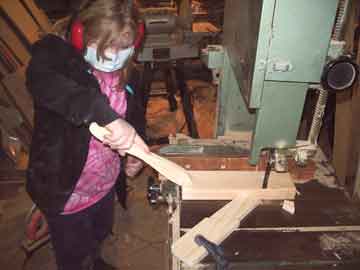
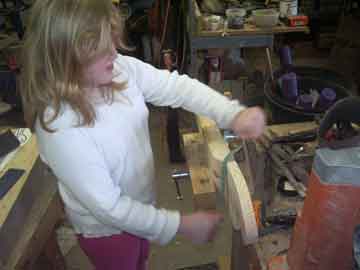
The way we will be cutting out the instrument requires 1 90 degree edge
on the timber. Since we will be cutting the side profile first,
we need to be sure the timber is square to the blade of the
bandsaw. So Aislinn runs one edge over the jointer. Then
she marked the side with her template, and it's off to the bandsaw.
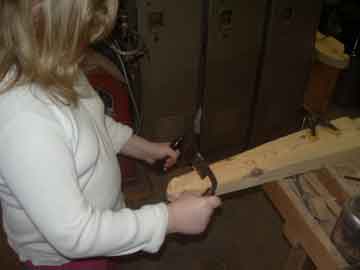
This cut has to be made freehand but she
isn't really scared of the bandsaw - she doesn't want to get too close
to the blade, but she is comfortable using it. So I let her try
the freehand operation, mostly because this is a big, thick piece of
wood and it would be hard to have a dangerous accident occur like it is
with a thin piece.
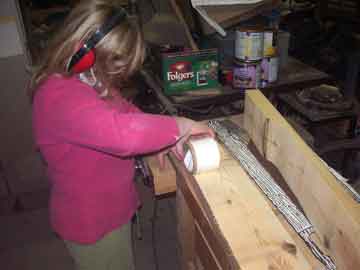
Now
to set up to cut the top outline of the instrument. First, carpet
tape is put down on one of the recently cut faces. In order to
get an accurate cut, you can't mark an outline like this in the cut
side of the wood, and if you mark it on the uncut side you don't have a
flat face to set on the saw table. I could work around that, but
it can be dangerous. Better to follow established practices and
turn the pieces temporarily back into a solid block again, to mark and
cut the outline.
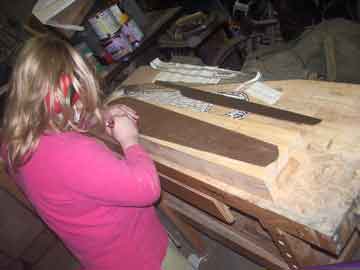
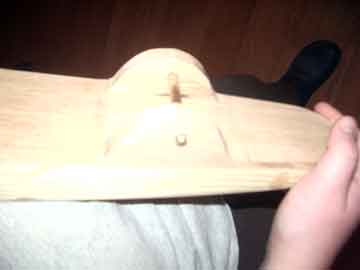
Once the pieces are stuck back together properly, the template is
applied and the outline is drawn.
And now it is a simple matter of
cutting out the outline
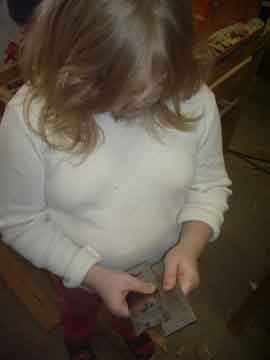
Using a very important specialty tool,
Aislinn pries the two pieces apart. (The tool is a knife made for
Lina by Master Alan, and it is a PERFECT thin wedge for jobs like this)
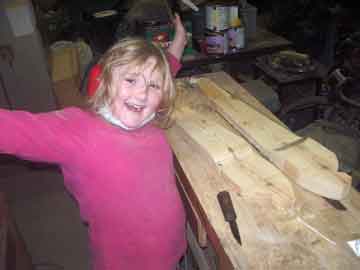
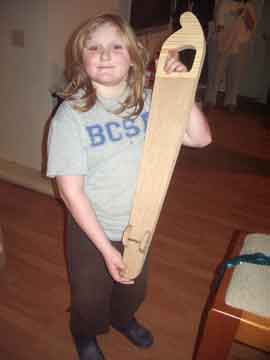
And the second mile marker is
passed - the main part, the body (corpus) of the instrument has been
cut free from the oppression of the tree which held it. And this
is what keeps me motivating the girls to do these projects, she really
is happy to be at this point, it's not a staged picture.
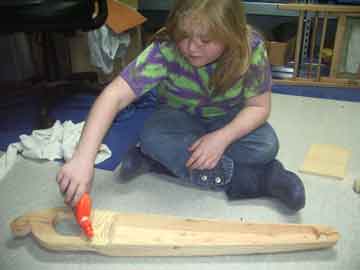
OK, getting down to
business. All the flat finishing work is done before we relieve
the edges and hollow out the box. Aislinn on the big belt sander.
And the sides...
And
around the head. About this time we are starting to see the
instrument as it will be.
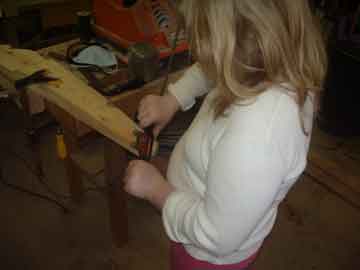
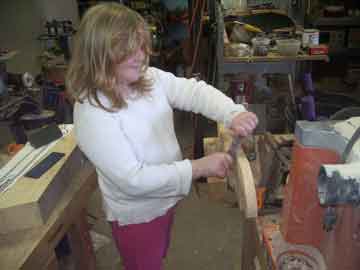
We used LOTS of tools
to do a simple round-over on this instrument. LOTS of
tools. Starting with the spokeshave "Hey Dad, take a picture of
me using THIS!"
And the drawknife "Hey Dad, take a picture of me using THIS!"
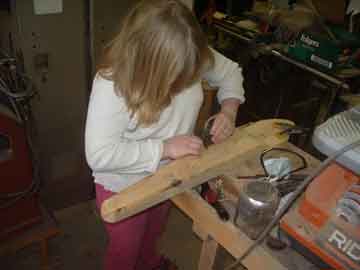
And a small block
plane "Hey
Dad,
take a picture of me using THIS!"
And a bigger jack plane "Hey Dad, take a picture of me using THIS!"
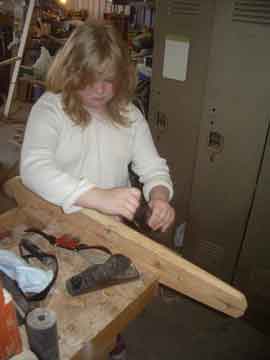
And a permagrit rasp-board "Hey Dad, take a picture of me using THIS!"
And a pattern makers rasp "Hey Dad, take a picture of me using THIS!"
(starting to see a pattern? "Oh Mr. De Ville, I'm ready for my
closeup!")
And a fine file.
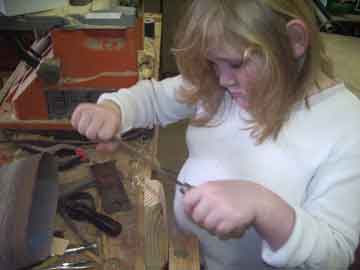
And a scraper, but first she had to learn
how to clean up and raise a burr on one. So I gave her a diamond
hone lap plate, and had her clean off the old burr, and true the face.
Then
with
a good tool steel rod, a quick burnish and she's off and running
(Didn't let me get the camera card cleared out to take a picture of the
process of scraping. Funny that, But there's, yes, a VIDEO.
There's LOTS of video. We'll link to it on this page as well.)
And strips of emery cloth to blend the curves. A whole lot of
work for some 1/2 inch roundovers..

To the jigsaw to cut the handhole
out of the head area. A spiral cut bit helps, because the
instrument is too long for the throat of the saw. But it leaves
more clean-up. That kind of work develops character - at least
that's what my dad used to tell me when I was sanding and polishing his
stuff...
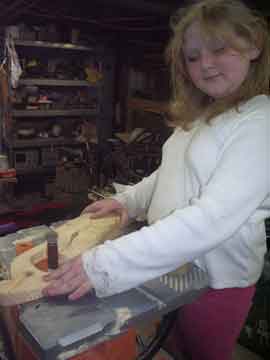
And back to the oscillating spindle
sander. She really likes this tool.
Now that the body is basically
exterior finished, time to hollow out the soundbox. A mark along
the edge, and an eyeball mark based on the drawings provided by Dr.
Haas, and she has her boundaries.
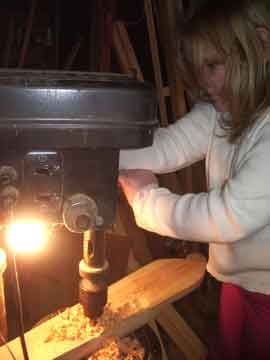
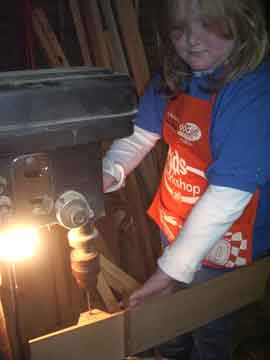
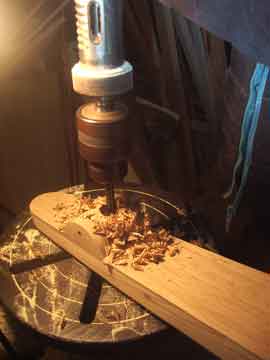
And the drill press with the forstner bit with the pilot ground
down. Really great tool, but takes lots and lots of holes.
Better than lots and lots of sash chisel work for Acey.
But a chisel ends up in the works - y'all knew it would. To clean
up the points left by the round bit. After a dozen or so points
removed, I taught Aislinn the more efficient way - the cheating way, I
guess you could say, but it pays to know more than one way to do a job.
Using a sanding drum in the drill press, we
can easily get rid of the points as well. Actually, it takes less
time to remove the points with a chisel, but pine is notorious for
being more difficult to chisel cleanly, and since a clean box sounds
better than a fuzzy one, we did the majority of the points with the
drum.
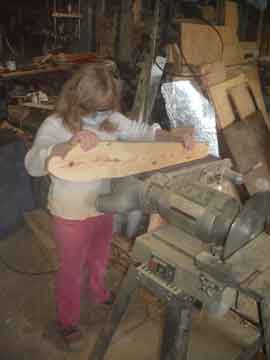
Cutting
the
soundboard from quarter-sawn oak. This was the way the
original was made, with the ears for the string bar cut as one with the
soundboard. We are making some design modifications to the
original from this point on, though. Other gusli found in the
area were broken, most in the area of the peg head. So instead of
building the soundboard to be recessed into the body, we are placing
the soundboard on top, and adding a cross-grained piece of pine to the
peghead area. This will make the top level, like the original,
but
make it more durable.
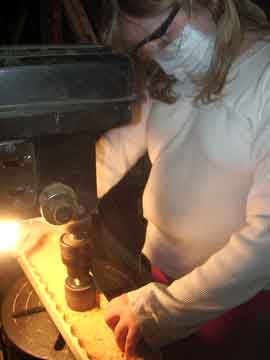
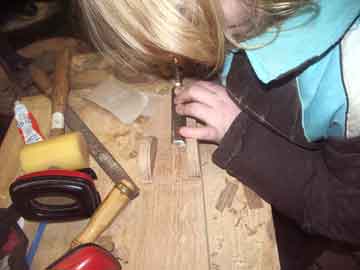
Drilling the hole square and true for the bar that holds the
string. This is the bridge of the instrument as well as the
tailpiece, and thus needs to be straight.
And now cutting the soundboard to
shape. She will finish the surface of the soundboard after it is
glued to the body.
With a good waterproof exterior glue, the soundboard is attached to the
body, and the crossgrained peg reinforcement is also added. Spool
clamps and spring clamps are used where appropriate.
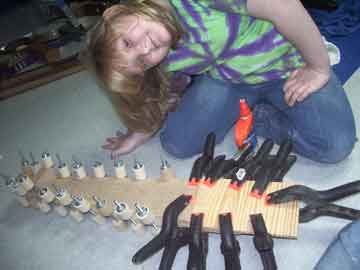
Now it's all clamped up. We moved inside. Yesterday the sun
was out, it got to almost 80 degrees. Today it reached 33.
My shop has no heater. So inside the house, in a nice 70 degrees,
the glue can dry.
Back to the jigsaw to cut the peghead reinforcement to match the
handhole in the body block. Last year the jigsaw really scared
Acey, this year she is still afraid of the noise it makes when a blade
breaks, but she just jumps right in with it.

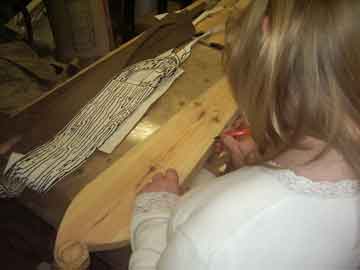
The edges are sanded to match,
the handhole is re-sanded to match, and now she is smoothing the saw
marks from the soundboard. Random orbital sander. Only
problem with this tool is that it blows cold air up your sleeve.
Nice in summer, not so much in winter.
Dad stepped in and set up a rickety table
saw fixture to allow 2 cuts to be made to define the ears on the
piece. This on the most dangerous tool in my shop - Old Ugly, the
ancient table saw that worked it's way from Valens to Pav to me, and
which needs a whole lot of care. With liberal application of
novenas, holy water, and courage, I pushed the thing through the blade
twice (I won't let the kids use that saw in the condition it is in, but
it was the way to get this job done) and luckily pieces that weren't
supposed to didn't fly off. Then I handed it back to Aislinn to
go to the drill press and make a set of holes to allow us to chisel the
remaining wood out easier.
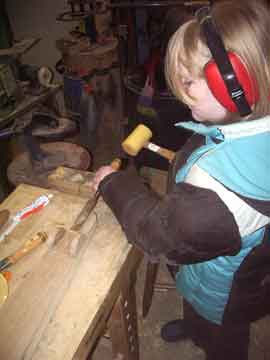
Rough chiseling for
major stock removal, and then
Using the chisel as a open-nosed
plane. Aislinn is really learning a lot about using the hand
tools. It warms my heart to see it - that kind of work seems to
be relegated to hobbyists nowadays, where it used to be normal.
And I am glad I can pass this knowledge on so that it has at least a
couple more chances of surviving the onslaught of a mechanized, mass
production world.
The
bar holding the strings will be brass, mainly because Aislinn insists
that each instrument have purple and gold in it somewhere. Here
she is taking the burr off the end of the brass rod on the disk sander.
The brass bar in place between the ears on the instrument. Wish
the picture would have come out better, but you get the idea.
Come see it at QPT for more details.
Now it is a matter of 5 tuning
pegs, 5 holes, liberal hand sanding and waxing. The instrument is
really for the most part done, and Aislinn is pleased. We are
still deciding whether or not to carve something into the side now or
wait till after the tourney. Oh, yeah, we also still have the
sun/moon motif to add to the ornament at the top of the peghead.
She is as into the astronomical themes as Ceilidh is into the nautical
ones. Next, it's off to the lathe for the pegs.
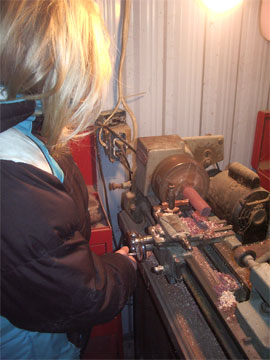
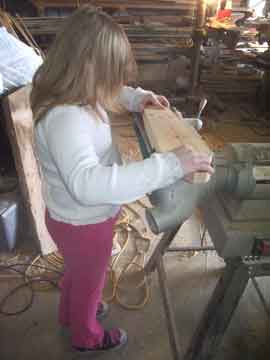
Now to the lathe to turn the tuning pegs. Again, I pretty much
keep this lathe set up for this operation, it is the thing I seem to do
most of, and the thing I hate setting up the most. She is using
purpleheart for the pegs. She insists on having purple and gold
in all of her instruments, and with brass wrapped strings and a brass
bridge-bar, there you go.

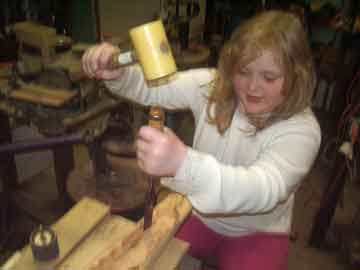
Using a machinist tapered reamer
to fit the pegs. Lots of experience has shown that inserting the
pegs from the bottom makes it easier to tune and instrument and lets it
stay in tune longer. Just a little at a time and try the pegs
constantly - 5 degrees taper can be eaten up in a hurry. Take
your time if you do it this way.
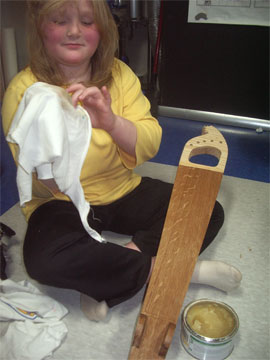
Briwax (clear
original) is the preferred finish around my home for early instruments
- beeswax and carnuba in a light carrier. Easy finish, lets only
the natural wood show through. It is durable, repairable, and
doesn't dull the sound of the instrument. And the kids like using
it.
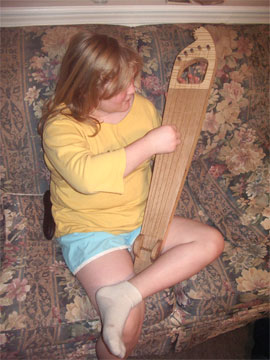
And it is assembled
and being played. It has a very mythical sound. It is quiet
(as expected for such a small, shallow, narrow soundbox and oak
soundboard). The ears that act as bridge legs are part of the
soundboard as per the original. This means that they are in
direct contact with the sides of the instrument - a good way to
transmit vibration but not a good way to resonate sound. That is
the reason for the phenomenon of playing on a wall or a tabletop, as
mentioned below. It is strung with really low strings and tuned
chromatic from whatever the lowest string sounded best at. It is
in tune with itself. Played in air, it is soft and gentle.
Place it on a table (a preferred method of amplifying Gusli and
kantele) and it resonates - a clear, mournful sound that evokes myths
and legends of Russia. It really is beautiful.
More to come as
soon as dad gets the pictures edited and the text written. Be
sure to visit Aislinn at Queen's Prize Tourney on January 10 to see and
hear the instrument and find out how much she's learning.