Dad once again rough
cut the
body
blank on the big
resaw bandsaw, then we started to see what Cael could handle.
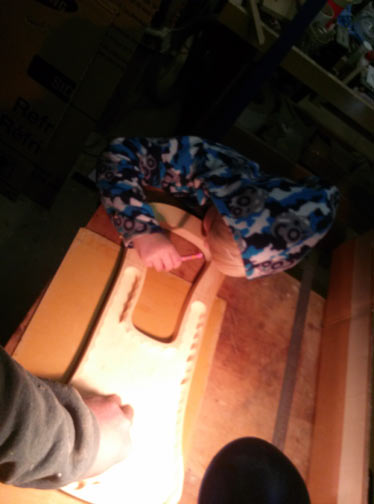
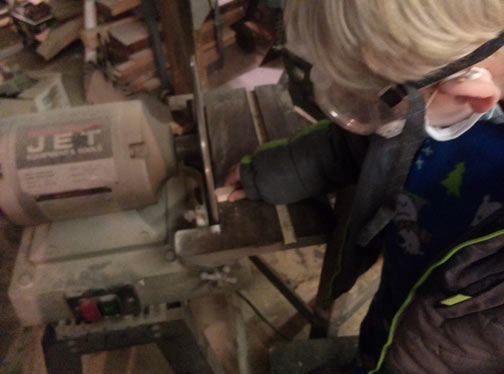
First off using the 12 inch disk sander to shape the head and tail
ends. He was still getting used to not just staring at the camera
when I took a picture, and almost burned the end right off watching me
and not what he was doing.
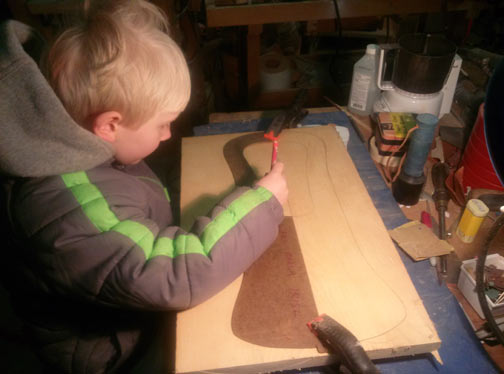
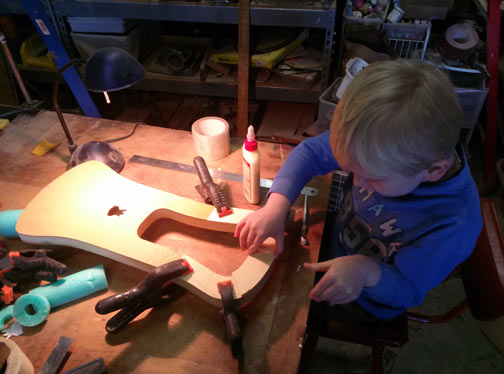
Then Dad cut the board
on the bandsaw, oversized by more than a bit, of course, (and used the
jigsaw to cut the Voltron head soundhole) and Cael proceeded to glue it
on.
Lots of PVC spring clamps later,
the soudboard is ready to dry. This is the end of an evening work
- 40 degrees in the shop isn't the environment for glue to dry.
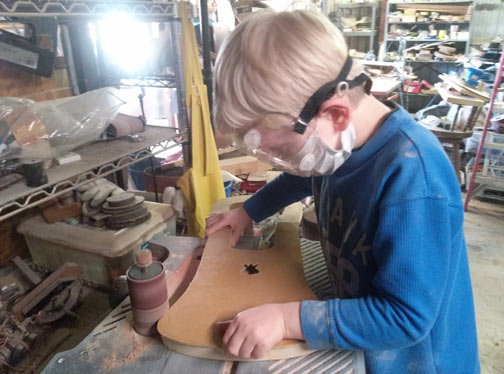
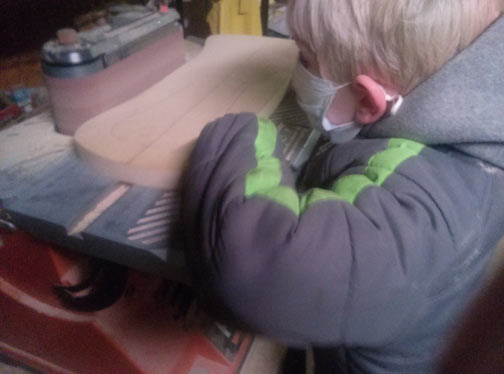
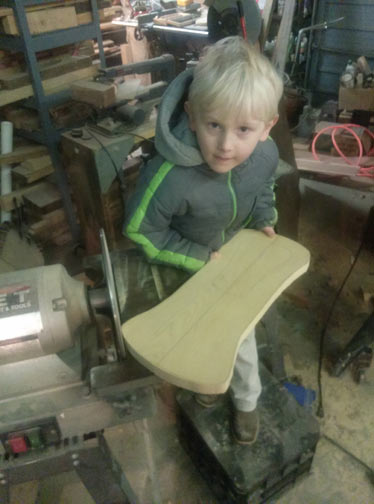
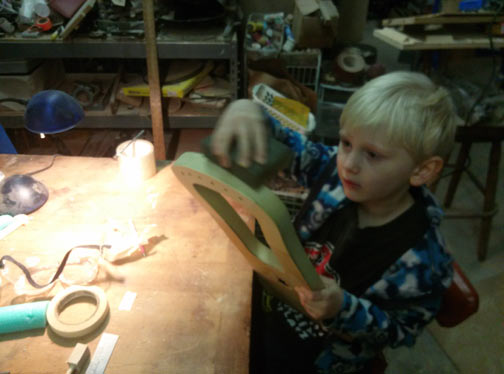
Back to the sander to handle the
soundboard overhang and smooth up the instrument once again.
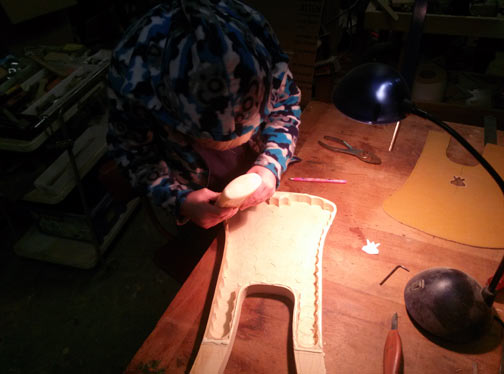
Now time to add the crossgrain reinforcement to the peghead area.
Cael drew, dad cut, Cael sanded and glued the three pieces that make up
the overlay on the yoke. Another evening ended by waiting for
glue to dry.
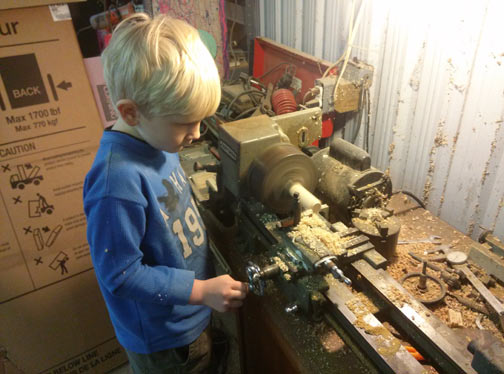
Did I say an evening ended? At 10 pm, suddenly full of
energy, the 5 year old headed back to the shop. And I taught him
how to turn tuning pegs. Dad did 1, Cael did 5.
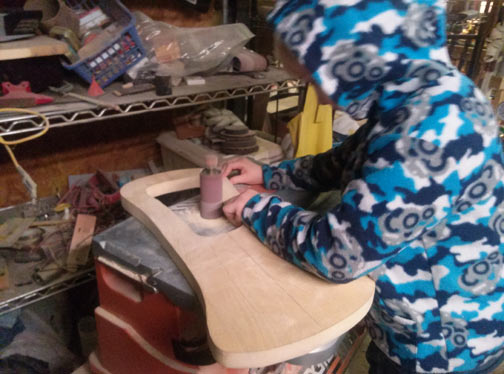
Next night, to the sander to smooth out the
reinforcements. This will be the last major body work on the
instrument, the rest will be handwork.
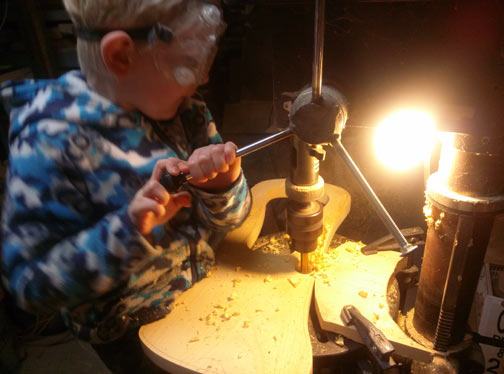
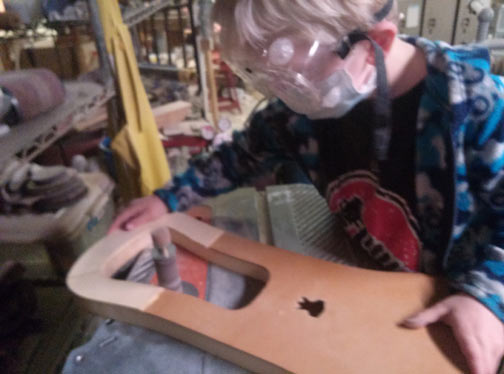
Tape was applied to the peghead to mark the location for the
pegholes. Cael's favorite tool is the drill press, and he made
quick work of six 1/4 inch holes. Time to remove the tape..
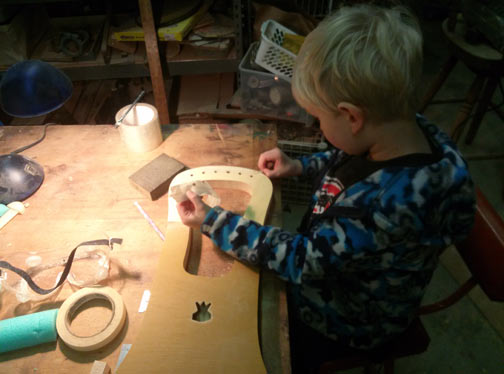
Breaking the
edges with a sanding
sponge, just to make it nice and comfortable and to get rid of any fuzz
left by the power sander.
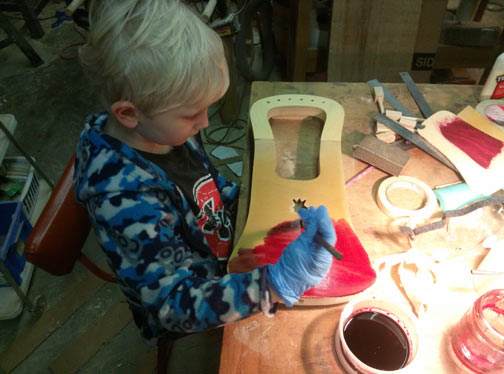
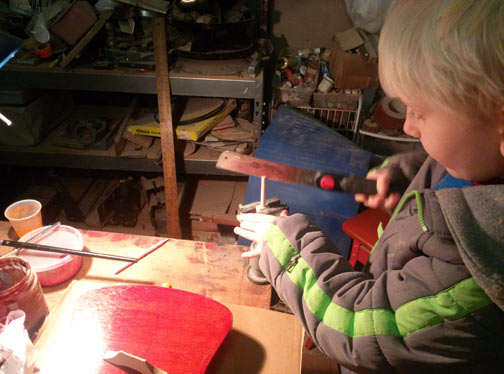
Now for application of color. Really
red is what he wants. Transfast dye liquid in alcohol, and a
brush. And it will be red.
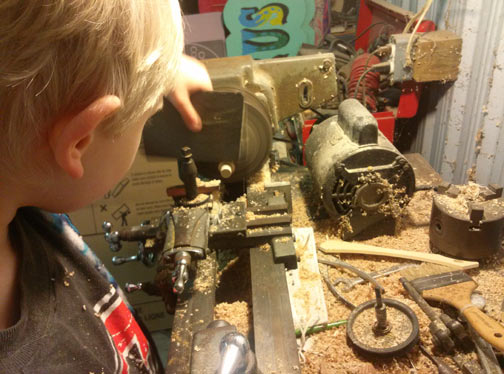
While the stain is drying,
back to the lathe to turn the tailpin. This will be a bigger pin,
because we are going to just loop all the strings over it instead of
using a tailpiece. Here he is using a sanding sponge to clean up
the
tailpin on the lathe.
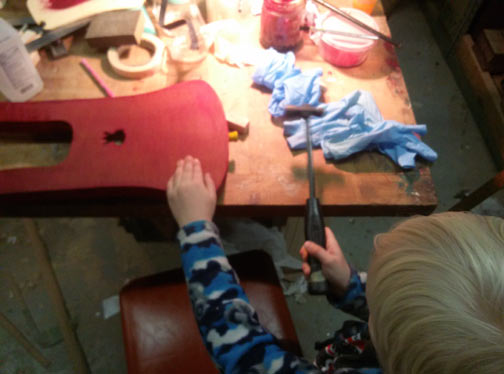
After a quick
dip in the yellow Transfast, it is time to glue the tailpin in. A
small hammer...
OK, here is the part where I couldn't take real pictures. Anyone
who has ever tried to teach a 5 year old how to paint evenly and
smoothly with a spray can knows that is a hand's on job. Keeping
the can from getting too close, even overlap, no runs. The clear
lacquer went on with a whole lot of screwed up faces, he didn't like
the smell of lacquer at all. So no pics of it getting all shiny,
but 3 coats of Valspar spray gloss lacquer with 0000 steel wool in
between made a good enough topcoat, and it was time to move on.
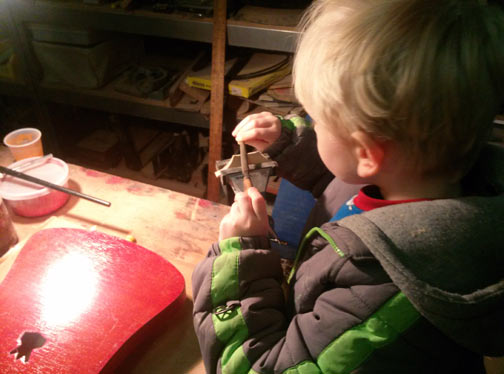
The maple
bridge was shaped with the spindle sander, but the top, the part the
strings rest on, had to be cut by hand. So Cael took a small file
and went at it, leaving the ends proud of the ridge, just like it
should be. This is a Trossingen style bridge, as the Gotland
natives probably had as much or more influence from the Germanic tribes
as the Bretons, this is just plausible, not guaranteed.
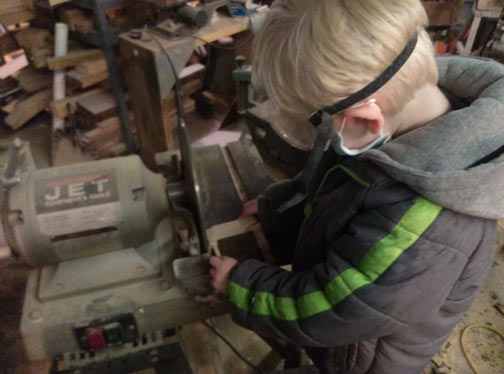
Sanding the sides of the rough pegs flat
and to thickness. Pushstick and fingers out of the way of the disc
.
Then sanding the tops of the peg heads
round. Just because it geels better and round is less likely to
just splinter off than sharp and square.
Using the Sharksaw pullsaw to cut
the string slots. Easier than a back-and-forth saw.
Perhaps a peg got sacrificed to the spirits of the tilted blade,
perhaps not, Dad won't say. But even if it did happen, Dad
has lost a few the same way over the years... Now the only thing left
is fitting the pegs and stringing. Remember, at least
at this point no tailpiece, a test to see how that system actually
works. People who understand tailpiece theory and the physics of
the length of vibrating string on the tail side of the bridge claim
this might be less than optimal, might not allow the amount and type of
force downward on the bridge and soundboard that you will get with a
long rigid tailpiece and small string gap between the tailpiece and
bridge. We will see, I guess. After all, we can always
build a tailpiece if it doesn't work well...
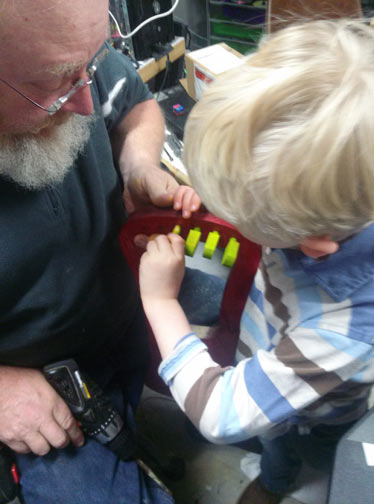
Next morning,
time to finish. First to taper the pegholes and fit the pegs -
usually a 2 person job until you build the handstrength to make the
pegs fit tight. Cael was the official fitter, I was the official
reamer.
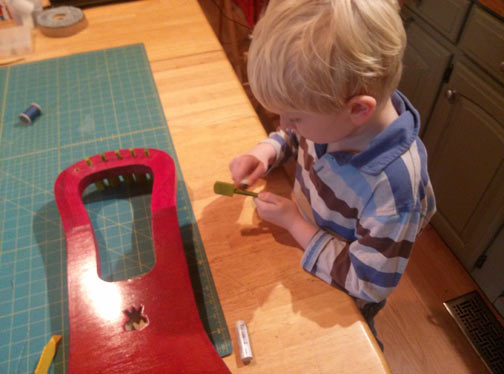
Applying peg compound to each peg to make
sure they don't slip or stick. I do this for all my lyres because
of the large contact area of the peg, most violins only have compound
if a peg develops problems because they only have 2 small bearing
areas. Also it will help to make sure Cael can turn the
pegs. So with the pegs in, attach the strings and
.
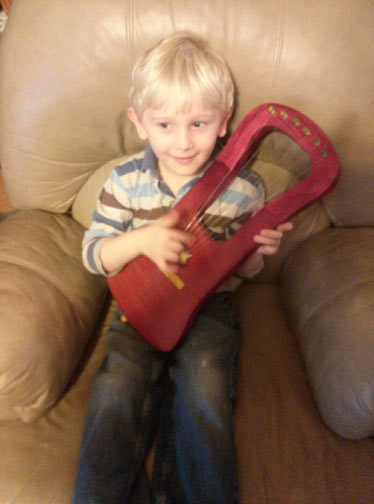
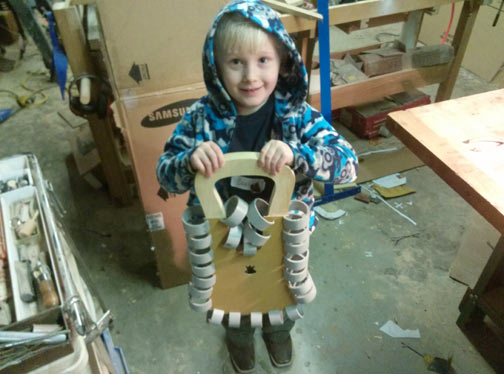
DONE!!!! Happy builder with a vry
colorful instrument, plays well without a tailpiece, only needs a strap
but that can be done anytime. I can't think of anything that I
would have rather done than guide this project.