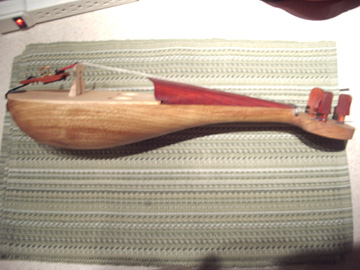
I will start with the same basic setup photos as the other instruments, as they all start out in a similar fashion

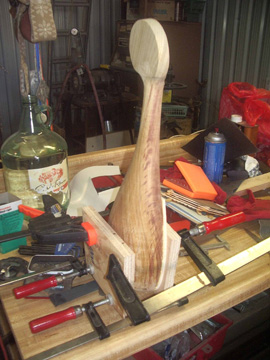
Here is a pair of canary rebec blanks with a single hide glue line joining them right down the center. This glue is not meant to hold them for turning, merely to assure there is no slippage when I start turning the neck area. The blocks will be held together with plywood end caps which will also act as bearing surfaces for the lathe drive spur and tailstock center
I'm going to skip to a part that I don't show in other pictures, joining the soundboard to the body of the instrument. You can catch up on the steps in my other pages - I am going to use this opportunity to show some of the procedures I missed in other pages, and details of the differences in the instruments. Anyways, a set of flat caul blocks and clamps allowed me to get good pressure on the soundboard to body joint. Didn't hurt that the fit was perfect without glue, either.
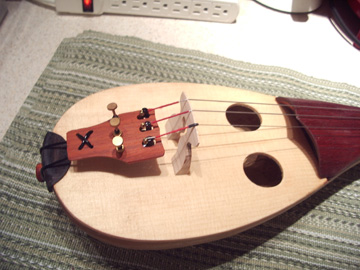
Now for the part I know you are all here for. What does this one look like? I'd say it was one of my most handsome instruments, with a kind of style that quite frankly couldn't have come from regular European woods. The focus on golds and ambers and rusts gives this a very noble presence. Here is the peghead, a traditional round with large pegs that look like they jumped right out of an illumination
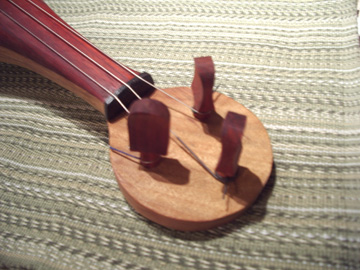
Here is the tail end of the
instrument. As this is a departure from the other rebecs I have
built, I decided to do a little looking around at tailpieces. Not
that I am ashamed of the simple flat wooden eggs I have been using as
my standard, but I wanted something a little classier for this
instrument. With everything to choose from from trefoils to
tombstones illustrated in art and manuscripts, I chose to mirror the
lines of the fingerboard. I like it.
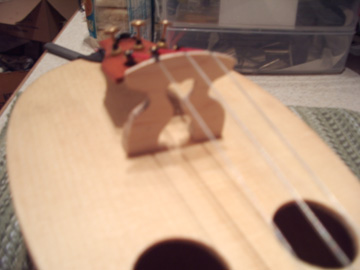
The bridge is also a change from my simple very early arches, to a more traditional German bridge, not a fully formed modern bridge, but something a little classier than the rest I have done. It is maple, and on top of adding to the looks, the shape allows it to be strong while being tall, and it's light weight lets the right amount of vibration pass to the soundboard.
Here's the side view of the instrument - as I said a handsome, striking piece. I just love the way the colors and grain textures work together to give something a little more than I expected out of such an instrument. The high bridge is shown here to good effect.
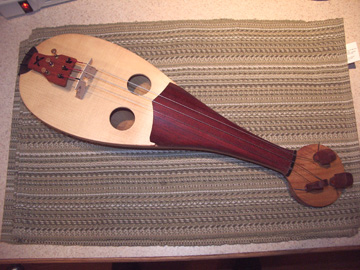
And a top view. the colors again are beautiful, hard to believe they are natural and not the result of dye or stain. The carpathian red spruce soundboard sets off everything around it. THe double soundholes are the most common, or should I say most standard, soundhole configuration in these instruments - if gives a lot of open soundhole area without weakening the bridge area of the soundboard. With the high bridge of this instrument, I wanted that.
These pictures are of the instrument at the time of basic completion. I don't know about the rest of you, but I seem to like continually fiddling with projects. Each time fate intervenes to keep me from delivering the instrument, I get to tweak a little here, change a profile or an edge there, do a little detail work not shown here - but that hopefully will soon stop when I get the instrument into the hands of it's new owner. I hope she likes it as much as I do.